How to Bypass Geo-blocking to Access Content with Firefox Extension for Free.
ProxMate is add-on which lets its user bypass the geo-location based restriction to access your favorite content or service(s). ProxMate is available for all the popular browsers like Google Chrome, Mozilla Firefox and Opera.
Why you should use Proxmate (according to author)?
- Faster – Claims to be faster than VPN.
- Pluggable – ProxMate allows you to pick exact package of the service(s) which you would like to access.
- Secure – SSL will stay SSL.
- Open Source – No more secrets.
- Support.
Developer(s): Personalitycores.
Language support: English
Home page: ProxMate
Difficulty: 
Availability: ![]()
![]()

Download: Add to Firefox
HOW TO: Installing ProxMate on Mozilla Firefox:
1. Go to ProxMate Mozilla add-on page, or simply click on the above download link and click on “Add to Firefox“.

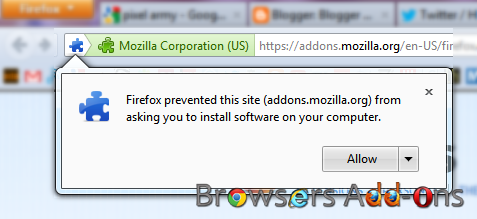
2. If Mozilla Firefox asks user permission for installation of addon. Click “Allow” to continue installation, leave it to abort.

3. ProxMate installation box pops-up. Click “Install Now” to continue installing add-on, “Cancel” to abort installation.

4. On successful installation, ProxMate doesn’t require restart to activate the add-on.

HOW TO: Using ProxMate on Mozilla Firefox:
1. On successful installation, you will notice ProxMate button at top right side of the browser, next to Mozilla’s “Open menu“.

2. Click on it to install the package(s). You need to install specific package to bypass specific service restriction. For sake of testing, I tried Vevo.
")
3. Before and after installing the ProxMate’s Vevo package.


HOW TO: Disable/Remove ProxMate from Mozilla Firefox:
1. Click on the Firefox, located at left upper corner of the web browser and go to “Add-ons”.

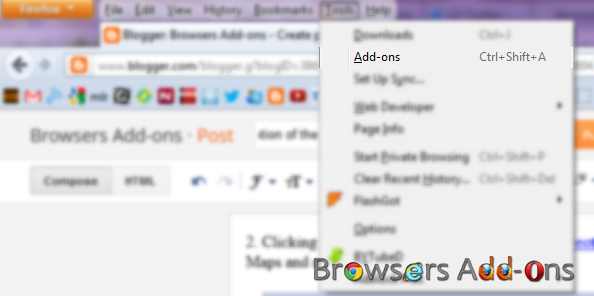
or press “Alt“, Menu bar pops-up, then go to Tools > Add-ons, or you can simply use shortcut key “Ctrl+Shift+A” to access add-on (extension) manger.

2. Now, click on “Disable” to disable the add-on temporarily or click “Remove” to remove the add-on permanently from the browser.
NOTE: Both options doesn’t require restart for the actions to take effect.
Read, Reply, Mark, Delete Emails right from the Browser with Gmail™ Notifier Plus Extension.
Gmail™ Notifier Plus is an add-on for Mozilla Firefox which alerts its users of new email messages from Gmail. With improved and minimalistic UI, this add-on is easy to use. Users can also ready, delete or mark the emails, all without need to open Gmail Tab.
Features:
1. No requirement to enter your credentials.
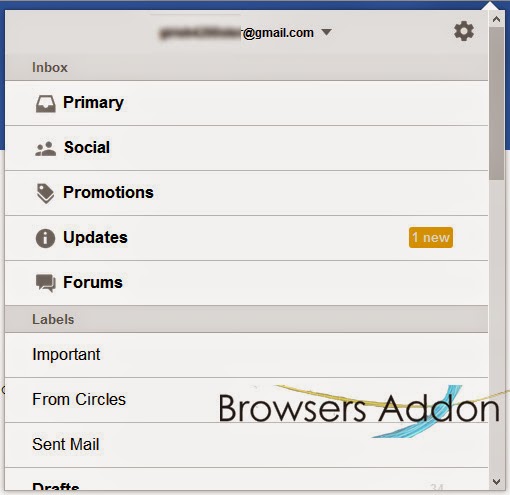
2. Multiple label support.
3. Low bandwidth usage by using RSS technology.
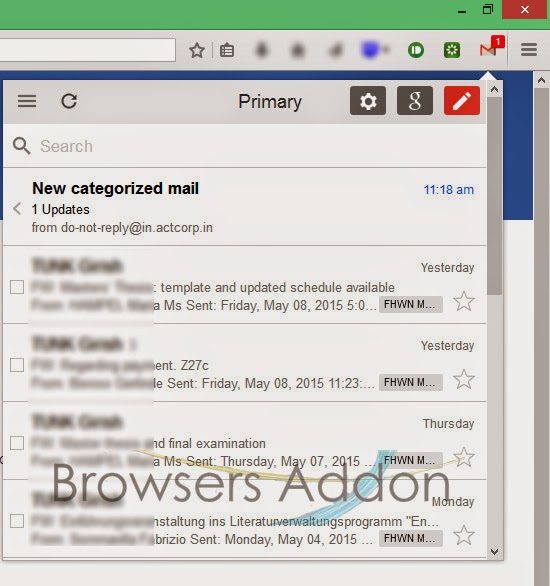
4. See your complete Gmail inbox in the toolbar Panel.
5. Counter of unread emails from all your email labels.
6. Play a Beep sound when new email(s) arrives (to enable this feature see extension options page).
7. Show a notification popup when new email(s) arrives (to disable this feature see extension options page).
Developer(s): Alexis Jaksone, Belav
Language support: English
Home page: Fastest Gmail.
Difficulty: 
Availability: ![]()

Download: Add to Firefox
HOW TO: Installing Gmail™ Notifier Plus on Mozilla Firefox:
1. Go to Gmail™ Notifier Plus Mozilla add-on page, or simply click on the above download link and click on “Add to Firefox“.

2. If Mozilla Firefox asks user permission for installation of addon. Click “Allow” to continue installation, leave it to abort.

3. Gmail™ Notifier Plus installation box pops-up. Click “Install Now” to continue installing add-on, “Cancel” to abort installation.

4. On successful installation, Gmail™ Notifier Plus will notify the same, this add-on doesn’t require to activate the add-on.

HOW TO: Using Gmail™ Notifier Plus on Mozilla Firefox:
1. On successful installation, you will notice that Gmail icon will appear at top right side of the browser.

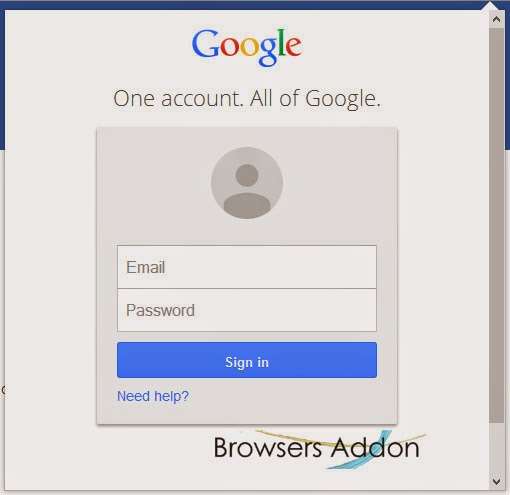
2. Click the Gmail icon, log-in with Gmail credentials. On successful login, you will be able to access the email(s) from Gmail.
3. Minimal settings.

4. Notification popup upon arrival of new email.

HOW TO: Disable/Remove Gmail™ Notifier Plus from Mozilla Firefox:
1. Click on the Firefox, located at left upper corner of the web browser and go to “Add-ons”.

or press “Alt“, Menu bar pops-up, then go to Tools > Add-ons, or you can simply use shortcut key “Ctrl+Shift+A” to access add-on (extension) manger.

2. Now, click on “Disable” to disable the add-on temporarily or click “Remove” to remove the add-on permanently from the browser.
NOTE: Both options doesn’t require restart for the actions to take effect.
Browse Internet with Premium and Secure Incognito Mode with Spotflux Lite.
Spotflux Lite is an extension for Google Chrome which encrypts your web browsing and gives you privacy and security. Spotflux encryption is done via SSL, hides your IP address. With this extension, you will have free VPN within Chrome browser. Spotflux claims to protect against anti-malware, anti-phishing protection as well as SPDY content acceleration.
Developer(s): Spotflux
Language support: English
Home page: Spotflux
Difficulty: 
Availability: ![]()
Download: ADD TO CHROME
HOW TO: Installing Spotflux Lite on Google Chrome:
1. Go to Chrome web store an search for Spotflux Lite, or simple click on the above download link and click on “FREE (ADD TO CHROME)“.

2. Google Chrome asks for user permission to add extension to the web browser. Click on “Add” to install extension to web browsers and “Cancel” to stop the installation process. Chrome also displays, what the extension might access on the web browser.

3. Now, a Spotflux Lite icon with message pop up appears at upper right corner of browser, indicating that the extension has successfully integrated with the Chrome.

HOW TO: Using Spotflux Lite on Google Chrome:
1. On installation, by default, Spotflux gets active, you can know this by noticing Spotflux icon with URL(address) bar.

2. To disable Spotflux Lite protection, click on the Spotflux Lite icon which is within URL bar, Spotflux Lite pops-up, click on the power icon to disable.

3. To enjoy more and customized features, you need to upgrade to premium.
HOW TO: Disable/Remove Spotflux Lite from Google Chrome:
1. Go to Chrome Setting > Tools > Extensions, or simply type “chrome://chrome/extensions/” in URL bar.

2. Now, un-tick the Spotflux Lite to temporarily disable the extension. Click on the dustbin icon and you will be greeted with pop-up, click “Remove” to remove the extension from Google Chrome.

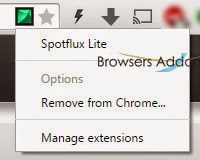
or you can remove directly from URL bar by right clicking the Spotflux Lite icon.
How To: Measure the Pixel Size Right Away from the Firefox Browser.
Developer(s): Kevin Freitas
Language support: English
Home page: MeasureIt
License: N/a
Donate: Click here
Difficulty: 
Availability: ![]()
Download: Add to Firefox
HOW TO: Installing MeasureIt on Mozilla Firefox:
1. Go to MeasureIt Mozilla add-on page, or simply click on the above download link and click on “Add to Firefox“.

2. If Mozilla Firefox asks user permission for installation of addon. Click “Allow” to continue installation, leave it to abort.
3. MeasureIt installation box pops-up. Click “Install Now” to continue installing add-on, “Cancel” to abort installation.

4. On successful installation, MeasureIt asks user permission to restart the browser. Restart the browser to activate the add-on.

HOW TO: Using MeasureIt on Mozilla Firefox:
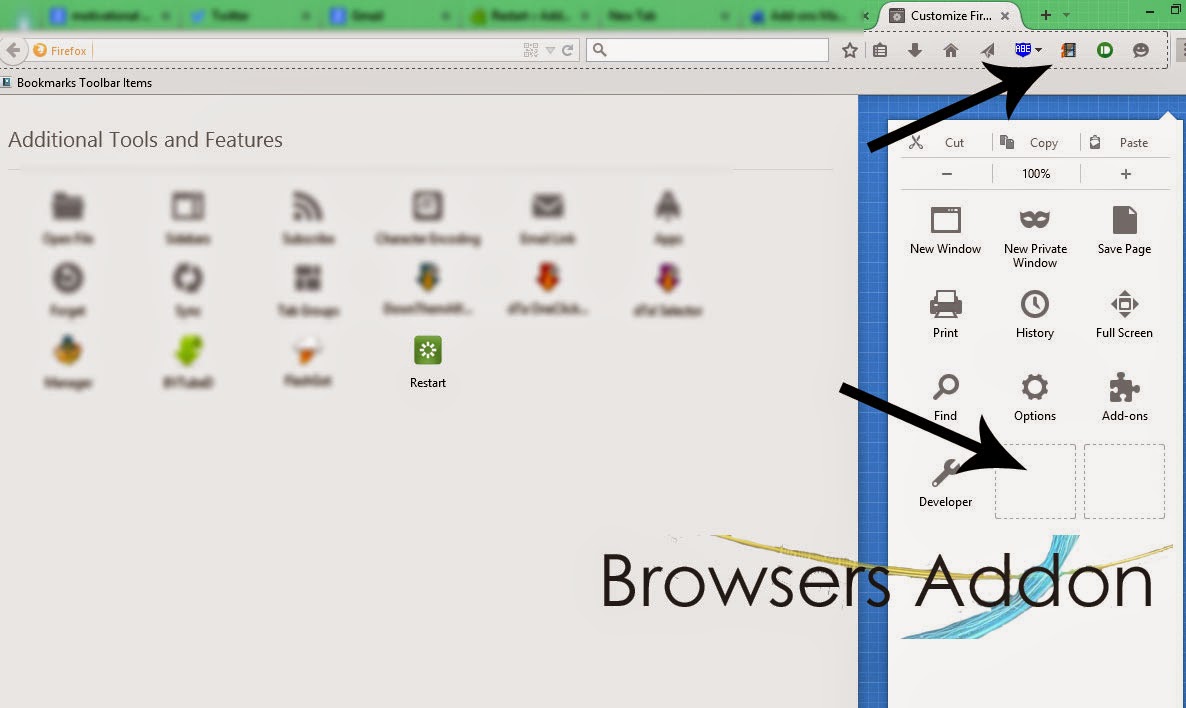
1. On successful installation, MeasureIt button should appear at top right side of the browser, to the right side of the URL button. In case it doesn’t show up, click on the “Open menu” (three horizontal bars at top right side of browser) > Customize > and drag the MeasureIt button, or press alt button > View > Toolbars > Customize…, drag the MeasureIt button.
2. Click on the MeasureIt button, move the cursor across the image which you would like to measure, hold the left mouse button and drag across it.

3. To cancel the operation, click on the small “x” or click on the MeasureIt button.
4. To access MeasureIt option, goto Mozilla Firefox’s Add-on Manager, search for “MeasureIt” tab, click on “Options“.

HOW TO: Disable/Remove MeasureIt from Mozilla Firefox:
1. Click on the Firefox, located at left upper corner of the web browser and go to “Add-ons”.

or press “Alt“, Menu bar pops-up, then go to Tools > Add-ons, or you can simply use shortcut key “Ctrl+Shift+A” to access add-on (extension) manger.

2. Now, click on “Disable” to disable the add-on temporarily or click “Remove” to remove the add-on permanently from the browser.
NOTE: Both options require restart for the actions to take effect.
How To: Make Google Chrome Run Efficiently with an Extension.
The Great Suspender is an extension for Google Chrome which automatically suspends the unused tabs, thus freeing system memory and optimize the system useage. As we know that Google Chrome is (un)famous for err….. memory consumption, this extension might make using Google Chrome run efficiently. Tabs can be auto-suspended after a customizable time or can be suspended manually.
Explore it, and let us know what do you think of it.
Developer(s): Suspensionlabs
Language support: English
Support: Click here
Homepage: The Great Suspender/github
Difficulty: 
Availability: ![]()
Download: ADD TO CHROME
HOW TO: Installing The Great Suspender on Google Chrome:
1. Go to Chrome web store an search for The Great Suspender, or simple click on the above download link and click on “FREE (ADD TO CHROME)“.

2. Google Chrome asks for user permission to add extension to the web browser. Click on “Add” to install extension to web browsers and “Cancel” to stop the installation process. Chrome also displays, what the extension might access on the web browser.

3. Now, a The Great Suspender icon with message pop up appears at upper right corner of browser, indicating that the extension has successfully integrated with the Chrome.

HOW TO: Using The Great Suspender on Google Chrome:
1. After successful installation of The Great Suspender extension you will be redirected to welcome page, from there you can access to the great suspender’s settings.

2. In general settings, you can customize the time for automatic suspension of the tabs from 20 seconds to 3 days.

3. You can prevent the extension from suspending tabs by whitelisting.

4. Shortcut keys: Suspend active tab: Ctrl+Shift+S, Unsuspend active tab: Ctrl+Shift+U, or you can go the desired tab to suspend or un-suspend tab.

HOW TO: Disable/Remove from Google Chrome:
1. Go to Chrome Setting > Tools > Extensions, or simply type “chrome://chrome/extensions/” in URL bar.

2. Now, un-tick the The Great Suspender to temporarily disable the extension. Click on the dustbin icon and you will be greeted with pop-up, click “Remove” to remove the extension from Google Chrome.

How To Add Restart Button in Mozilla Firefox.
Developer(s): Schuzak
Language support: English
Home page: Shuzak
Difficulty: 
Availability: ![]()
Download: Add to Firefox
HOW TO: Installing Restart on Mozilla Firefox:
1. Go to Restart Mozilla add-on page, or simply click on the above download link and click on “Add to Firefox“.

2. If Mozilla Firefox asks user permission for installation of addon. Click “Allow” to continue installation, leave it to abort.
3. Restart installation box pops-up. Click “Install Now” to continue installing add-on, “Cancel” to abort installation.

4. On successful installation, Restart asks user permission to restart the browser. Restart the browser to activate the add-on.

HOW TO: Using Restart on Mozilla Firefox:
1. By default, you can restart Firefox by “Ctrl”+”Alt”+”R”.

2. To add button, click on “Open Menu“, then click on customize and drag the “Restart” but to the desired location.
3. You can customize the shortcut key by going to Mozilla add-ons manager, find the “Restart” add-on tab and click on the “Options“.

HOW TO: Disable/Remove Restart from Mozilla Firefox:
1. Click on the Firefox, located at left upper corner of the web browser and go to “Add-ons”.

or press “Alt“, Menu bar pops-up, then go to Tools > Add-ons, or you can simply use shortcut key “Ctrl+Shift+A” to access add-on (extension) manger.
2. Now, click on “Disable” to disable the add-on temporarily or click “Remove” to remove the add-on permanently from the browser.
NOTE: Both options require restart for the actions to take effect.
With Focus 45 Chrome Extension, Try to be Productive on Web.
Focus 45 is an extension for Google Chrome which prevents you from being distracted when working on web. With one click, you can achieve 45 minutes of ZEN mode. In case of necessity, you deactivate for 5 minutes by entering the provided code. It is Promodoro technique on Google Chrome. Other features include, customizable blacklisted sites, changing the length of timer.
Developer(s): Travis Wimer
Language support: English
Home page: Focus 45
Difficulty: 
Availability: ![]()
Download: ADD TO CHROME
HOW TO: Installing Focus 45 on Google Chrome:
1. Go to Chrome web store an search for Focus 45, or simple click on the above download link and click on “FREE (ADD TO CHROME)“.

2. Google Chrome asks for user permission to add extension to the web browser. Click on “Add” to install extension to web browsers and “Cancel” to stop the installation process. Chrome also displays, what the extension might access on the web browser.

3. Now, a Focus 45 icon with message pop up appears at upper right corner of browser, indicating that the extension has successfully integrated with the Chrome.

HOW TO: Using Focus 45 on Google Chrome:
1. To initiate the Focus 45, just click (left mouse button) on the Focus 45 icon which is at top right side of the browser. By default, facebook, twitter, YouTube, stumbleupon, reddit, gmail, outlook are block. When you try to access these website, this message is shown.

2. In case you need to access the website, type the give code, the extension gives you five minutes to view the website.

3. To customize the timings, click on the settings.

4. To edit the blacklisted sites, click on the Focus 45 icon which is at top right side of the browser.

HOW TO: Disable/Remove from Google Chrome:
1. Go to Chrome Setting > Tools > Extensions, or simply type “chrome://chrome/extensions/” in URL bar.

2. Now, un-tick the Focus 45 to temporarily disable the extension. Click on the dustbin icon and you will be greeted with pop-up, click “Remove” to remove the extension from Google Chrome.

How To Restrict and Control the Amount of Time You Visit a Website.
StayFocusd is an extension for Google Chrome which helps to increase your productivity by limiting/restricting the amount of time you spend on your favorite website. Let’s find out how can we really do it.
Developer(s): Transfusion Media
Language support: English
Home page: StayFocused
Difficulty: 
Availability: ![]()
Download: ADD TO CHROME
HOW TO: Installing StayFocusd on Google Chrome:
1. Go to Chrome web store an search for StayFocusd, or simple click on the above download link and click on “FREE (ADD TO CHROME)“.

2. Google Chrome asks for user permission to add extension to the web browser. Click on “Add” to install extension to web browsers and “Cancel” to stop the installation process. Chrome also displays, what the extension might access on the web browser.

3. Now, a StayFocusd icon with message pop up appears at upper right corner of browser, indicating that the extension has successfully integrated with the Chrome.

HOW TO: Using StayFocusd on Google Chrome:
1. To restrict a site, open that website and click of StayFocusd icon at top right of the browser. Click on the “Block this entire site“. By default, StayFocusd give you grace time of 10 minutes to access the site. To change and explore more settings, click on “Settings” below the “Block the entire site“

2. The interesting feature is the “Nuclear Option“. On activation, it will block sites for the number of hours which you set, independent of your active days or active hours. Once activated, there is no way to cancel it.

HOW TO: Disable/Remove StayFocusd from Google Chrome:
1. Go to Chrome Setting > Tools > Extensions, or simply type “chrome://chrome/extensions/” in URL bar.

2. Now, un-tick the StayFocusd to temporarily disable the extension. Click on the dustbin icon and you will be greeted with pop-up, click “Remove” to remove the extension from Google Chrome.

How To: Make GIF Images from Videos With Google Chrome Extension.

Love to respond some one with interactive and fun content (talking about GIF images :D), then the extension, MakeGIF Video Capture will help you. With this extension, you can capture HTML5 videos in Google Chrome and convert them into GIF animations.

Developer(s): MakeGIF
Language support: English
Home page: MakeGIF
Difficulty:
Availability: ![]()
Download: ADD TO CHROME
HOW TO: Installing MakeGIF Video Capture on Google Chrome:
1. Go to Chrome web store an search for MakeGIF Video Capture, or simple click on the above download link and click on “FREE (ADD TO CHROME)“.

2. Google Chrome asks for user permission to add extension to the web browser. Click on “Add” to install extension to web browsers and “Cancel” to stop the installation process. Chrome also displays, what the extension might access on the web browser.

3. Now, MakeGIF Video Capture with message pop up appears at upper right corner of browser, indicating that the extension has successfully integrated with the Chrome.

HOW TO: Using MakeGIF Video Capture on Google Chrome:
1. Open the video on the webpage which you would like to create the GIF image.
2. Start playing the video. Click on the MakeGIF Video Capture icon which is located at top right side of the browser. Click on the “Start” to start capturing the video. To stop, click on “Done”.

3. You can review the GIF. Click on “Generate GIF” to generate/create the GIF image.

3. To save the the GIF Image, click on “Save GIF” after done capturing the frames.

HOW TO: Disable/Remove from Google Chrome:
1. Go to Chrome Setting > Tools > Extensions, or simply type “chrome://chrome/extensions/” in URL bar.
2. Now, un-tick the MakeGIF Video Capture to temporarily disable the extension. Click on the dustbin icon and you will be greeted with pop-up, click “Remove” to remove the extension from Google Chrome.

