Gmail
Read, Reply, Mark, Delete Emails right from the Browser with Gmail™ Notifier Plus Extension.
Gmail™ Notifier Plus is an add-on for Mozilla Firefox which alerts its users of new email messages from Gmail. With improved and minimalistic UI, this add-on is easy to use. Users can also ready, delete or mark the emails, all without need to open Gmail Tab.
Features:
1. No requirement to enter your credentials.
2. Multiple label support.
3. Low bandwidth usage by using RSS technology.
4. See your complete Gmail inbox in the toolbar Panel.
5. Counter of unread emails from all your email labels.
6. Play a Beep sound when new email(s) arrives (to enable this feature see extension options page).
7. Show a notification popup when new email(s) arrives (to disable this feature see extension options page).
Developer(s): Alexis Jaksone, Belav
Language support: English
Home page: Fastest Gmail.
Difficulty: 
Availability: 

Download: Add to Firefox
HOW TO: Installing Gmail™ Notifier Plus on Mozilla Firefox:
1. Go to Gmail™ Notifier Plus Mozilla add-on page, or simply click on the above download link and click on “Add to Firefox“.
2. If Mozilla Firefox asks user permission for installation of addon. Click “Allow” to continue installation, leave it to abort.
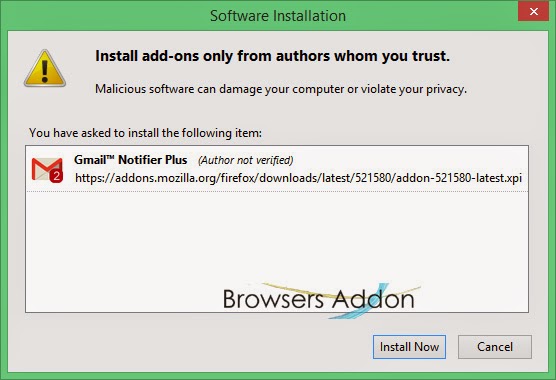
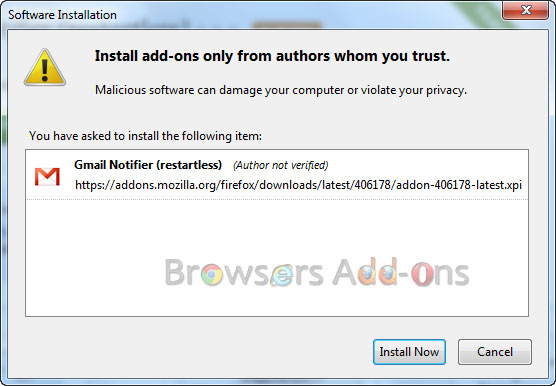
3. Gmail™ Notifier Plus installation box pops-up. Click “Install Now” to continue installing add-on, “Cancel” to abort installation.
4. On successful installation, Gmail™ Notifier Plus will notify the same, this add-on doesn’t require to activate the add-on.
HOW TO: Using Gmail™ Notifier Plus on Mozilla Firefox:
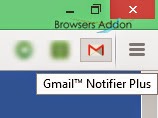
1. On successful installation, you will notice that Gmail icon will appear at top right side of the browser.
2. Click the Gmail icon, log-in with Gmail credentials. On successful login, you will be able to access the email(s) from Gmail.
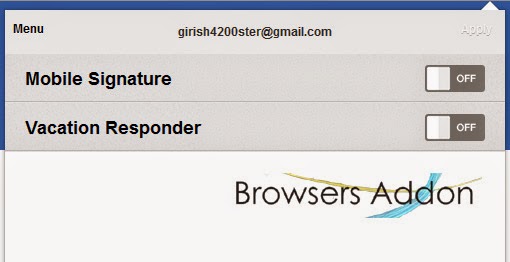
3. Minimal settings.
4. Notification popup upon arrival of new email.
HOW TO: Disable/Remove Gmail™ Notifier Plus from Mozilla Firefox:
1. Click on the Firefox, located at left upper corner of the web browser and go to “Add-ons”.
or press “Alt“, Menu bar pops-up, then go to Tools > Add-ons, or you can simply use shortcut key “Ctrl+Shift+A” to access add-on (extension) manger.
2. Now, click on “Disable” to disable the add-on temporarily or click “Remove” to remove the add-on permanently from the browser.
NOTE: Both options doesn’t require restart for the actions to take effect.
Get Gmail Notification with Message Preview in Mozilla Firefox with Gmail Notifier Addon.
Gmail Notifier for Mozilla Firefox is an add-on which notifies Mozilla Firefox users with the number of unread gmail messages. It supports multiple accounts, multiple label support and you can even perform functions like “Mark as” Read, Report Spam, Trash or Archive Message without opening gmail in separate tab.
Developer(s): InBasic
Language support: English
Home page: Gmail Notifier
License: Custom License
Donate: Click here
Difficulty: 
Availability: 
Download: Add to Firefox
HOW TO: Installing Gmail Notifier on Mozilla Firefox:
1. Go to Gmail Notifier Mozilla add-on page, or simply click on the above download link and click on “Add to Firefox“.
2. If Mozilla Firefox asks user permission for installation of addon. Click “Allow” to continue installation, leave it to abort.
3. Gmail Notifier installation box pops-up. Click “Install Now” to continue installing add-on, “Cancel” to abort installation.
4. On successful installation, you will notified with the message.
HOW TO: Using Gmail Notifier on Mozilla Firefox:
1. In order to activate gmail notifications, your gmail account should be running background (not signed out).
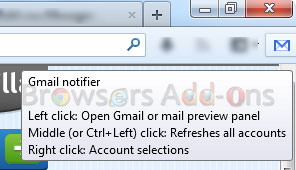
2. Hovering mouse on the Gmail Notifier will show you the add-on shortcut keys.
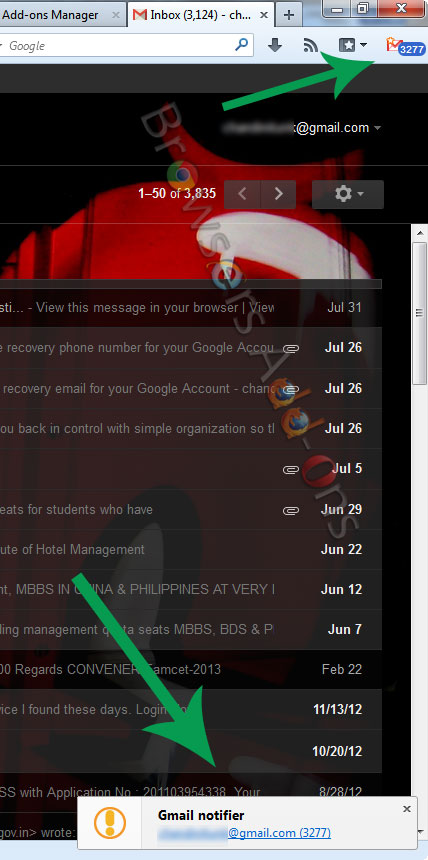
3. When new message lands into your inbox or when you have any unread messages in your inbox, you will notification like this.
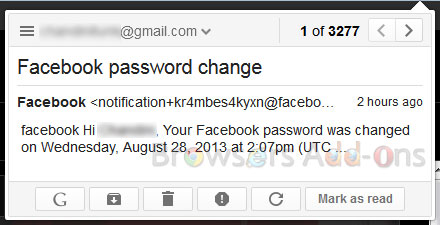
4. Left click (LMB) on the gmail notifier to get a small snippet of the latest message.
Shortcut keys: Left click: Opens Gmail, Middle (or Ctrl+Left) click: Refreshes all accounts and Right click: Account Selections.
5. To access Gmail Notifier options, go to Firefox Addons Manager and search for Gmail Notifier tab and click on “Options“.
HOW TO: Disable/Remove Gmail Notifier from Mozilla Firefox:
1. Click on the Firefox, located at left upper corner of the web browser and go to “Add-ons”.
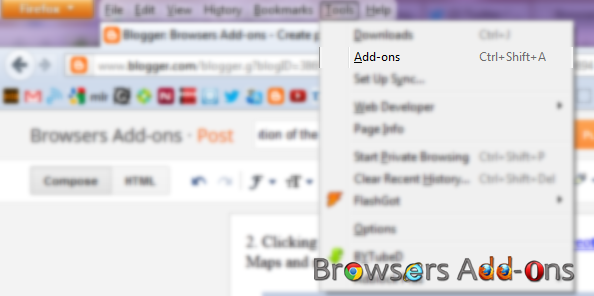
or press “Alt“, Menu bar pops-up, then go to Tools > Add-ons, or you can simply use shortcut key “Ctrl+Shift+A” to access add-on (extension) manger.
2. Now, click on “Disable” to disable the add-on temporarily or click “Remove” to remove the add-on permanently from the browser.
NOTE: This add-on doesn’t require restart for the actions to take effect.
- See Also: Gmail Notification for Google Chrome.
Learn Gmail and Google apps mail keyboard shortcuts with KeyRocket for Gmail extension for Chrome.
KeyRocket for Gmail™ is an extension for Google Chrome which aims to teach its user Gmail and Google Apps mail keyboard shortcut key on the go. This extension aims to increase your Gmail productivity and save your valuable seconds.
Developer(s): Veodin
Language support: Deutsch, English, Français, русский, עברית
Home page: KeyRocket
Difficulty: 
Availability: ![]()
Download: ADD TO CHROME
HOW TO: INSTALLING KEYROCKET FOR GMAIL ON GOOGLE CHROME:
1. Go to Chrome web store an search for KeyRocket for Gmail, or simple click on the above download link and click on “ADD TO CHROME“.
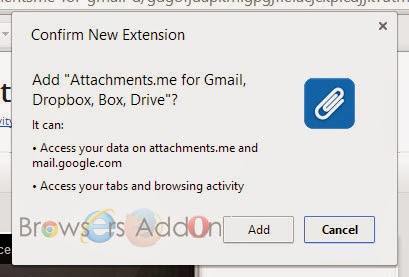
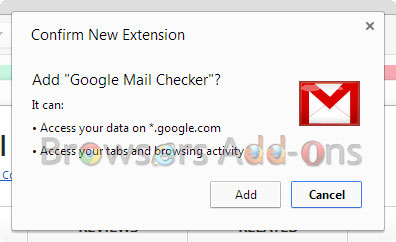
2. Now, Google Chrome asks for user permission to add extension to the web browser. Click on “Add” to install extension to web browsers and “Cancel” to stop the installation process. Chrome also displays, what the extension might access on the web browser.
3. Now, a KeyRocket icon with message pop up appears at upper right corner of browser, indicating that the extension has successfully integrated with the Chrome.
HOW TO: USING KEYROCKET FOR GMAIL ON GOOGLE CHROME:
1. After successful installation of KeyRocket extension you will be redirected to Gmail settings page, General Tab. The extension asks the user to “On” the “Keyboard Shortcuts” and don’t forget to “Save” changes.
2. Steps to “On” the “Keyboard Shortcuts“manually. Click on the Gear (Wheel) icon which is located at top right side of Gmail page.
3. Here were some tips while I was using my Gmail.
HOW TO: DISABLE/REMOVE KEYROCKET FOR GMAIL ON GOOGLE CHROME:
1. Go to Chrome Setting > Tools > Extensions, or simply type “chrome://chrome/extensions/” in URL bar.
2. Now, un-tick the KeyRocket to temporarily disable the extension. Click on the dustbin icon and you will be greeted with pop-up, click “Remove” to remove the extension from Google Chrome.


